This document describes the steps required to create a CCE server virtual machine on AWS cloud. We recommend that these steps are performed on a call with the guidance of ARIA Technical Support.
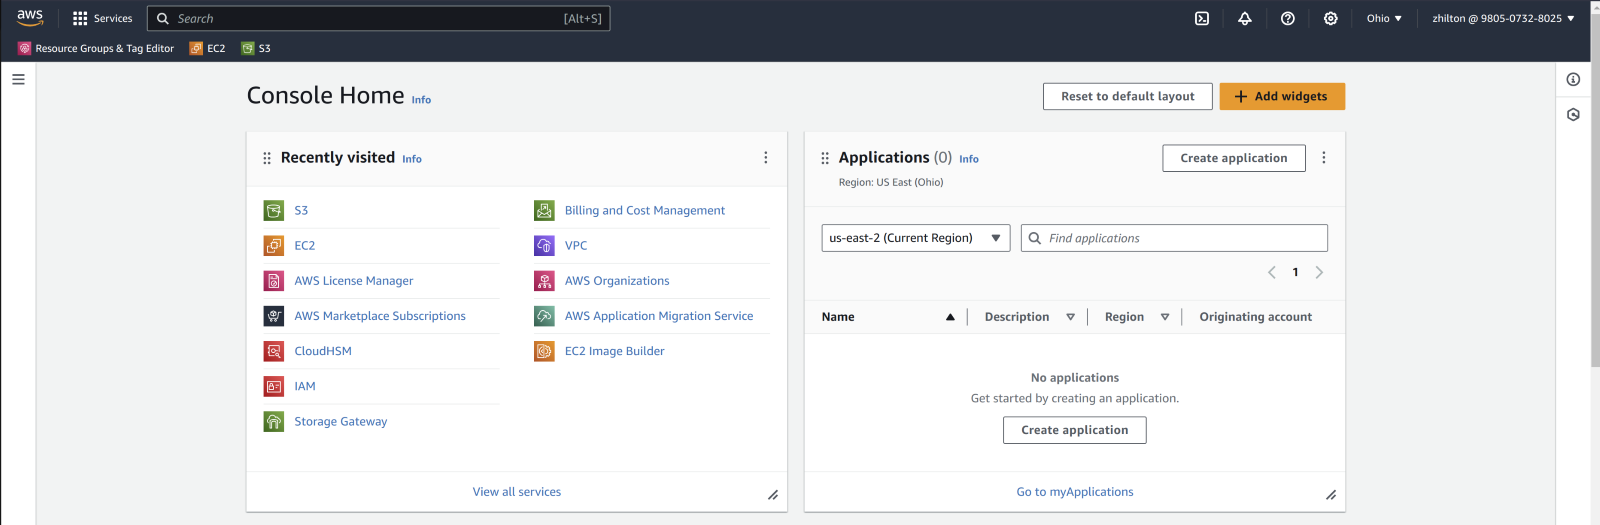
- Login to your AWS Dashboard for your region.
- Launch an EC2 Instance for the CCE Software.
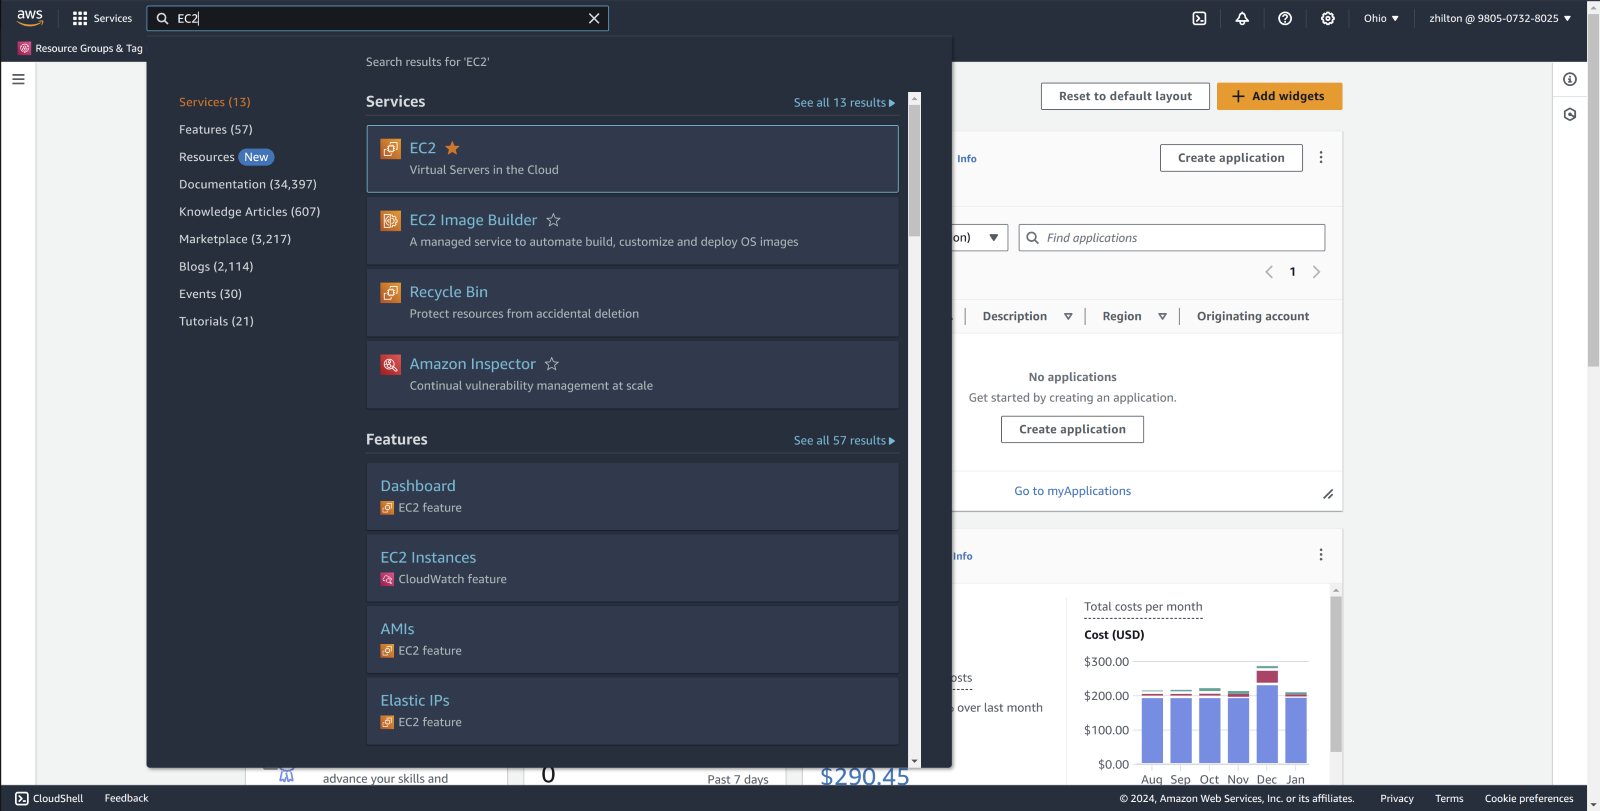
- Navigate to the search bar in the top of the screen and search for 'EC2' and select it.
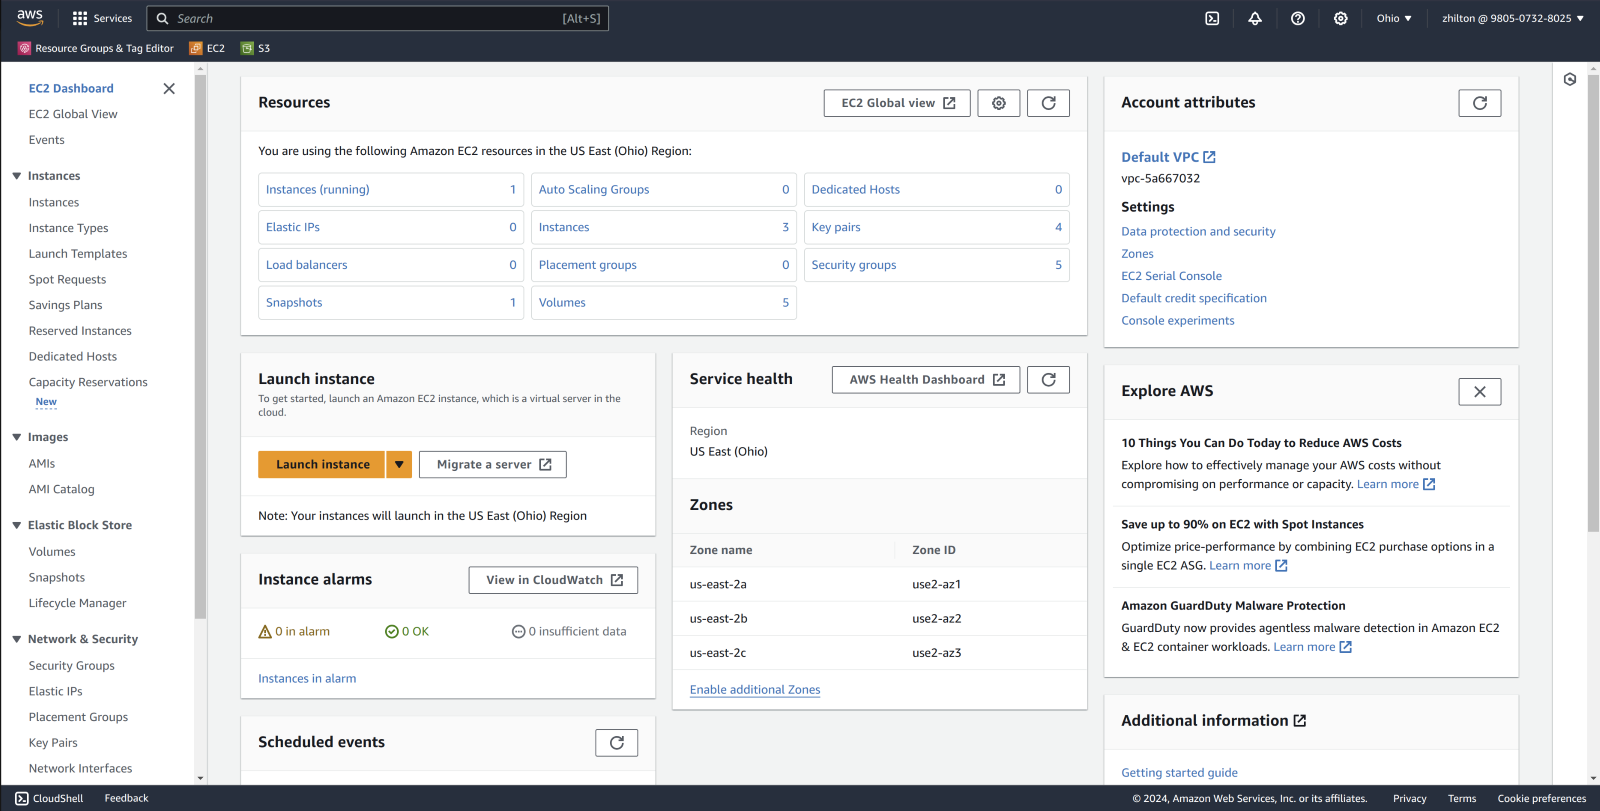
- On the EC2 Dashboard, select 'Launch instance'.
- In the 'Launch an instance' configuration wizard, complete the following details:
- Name: <Description name of your choosing>
- Amazon Machine Image:
- Select 'Browse more AMIs'.

- Select ‘AWS Marketplace AMIs’, then use the search bar to search for ‘Rocky Linux 8 (Official)’. Select the first result and then choose ‘Subscribe now’ in the pop-up confirmation.


- Select 'Browse more AMIs'.
- Instance type: Select the dropdown and search for ‘c5.2xlarge’

- Key pair: Select and existing or create a new key pair. When creating a new key pair, give it a descriptive name. Be sure to save the generate key pair to a safe and memorable location.

- Network Settings: Confirm settings below.
- Network: Confirm the destination VPC.
- Subnet: Confirm the destination subnet.
- Auto-assign public IP: Enabled.
- Firewall (security groups): Allow SSH traffic from a known-good source for configuration and management.
- Configure storage: 256GB gp3 root volume.

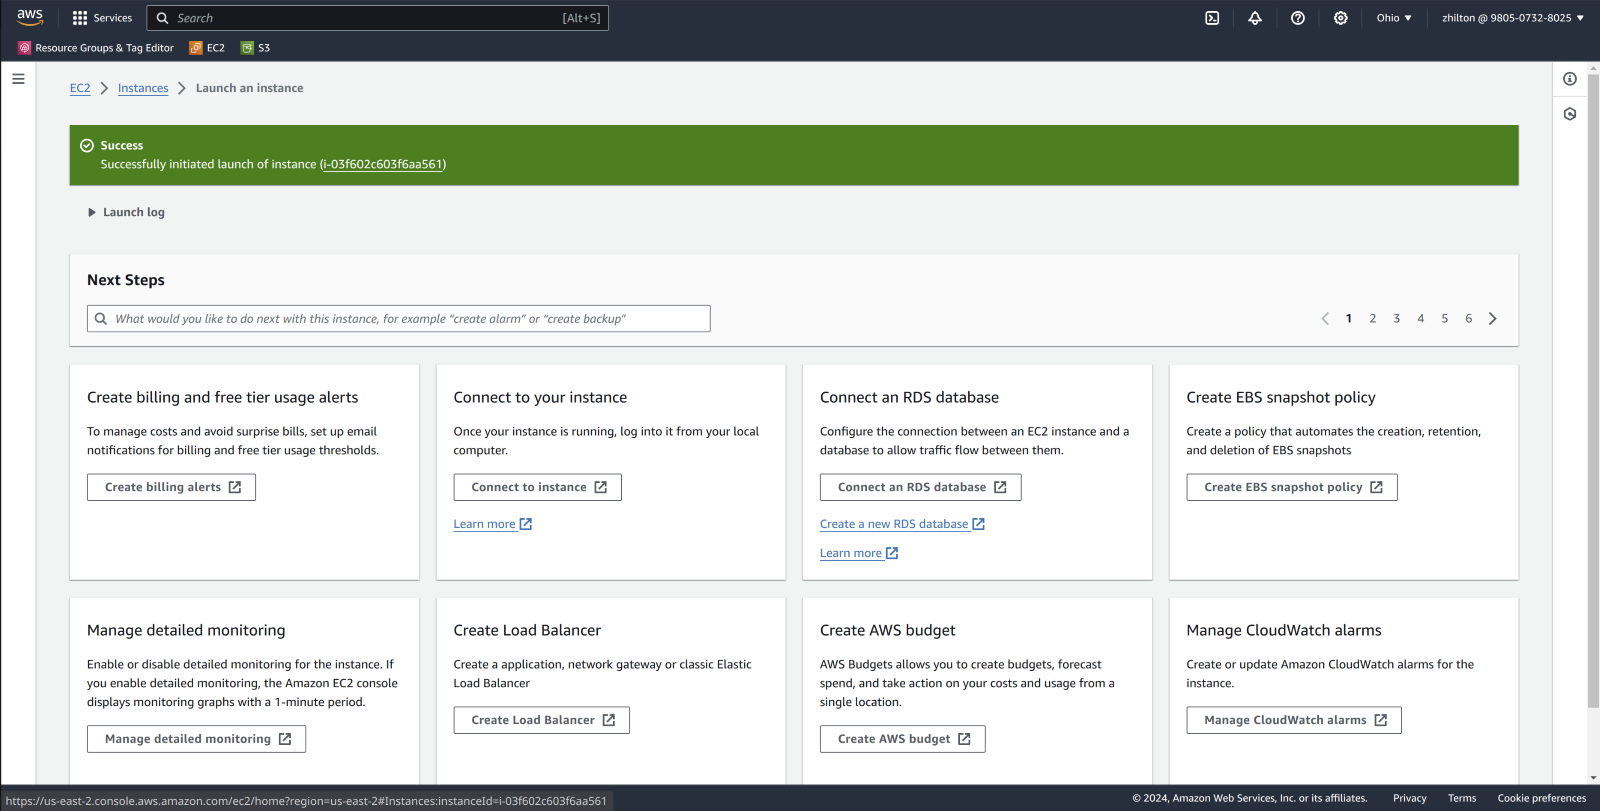
- Confirm configuration and select ‘Launch instance’.

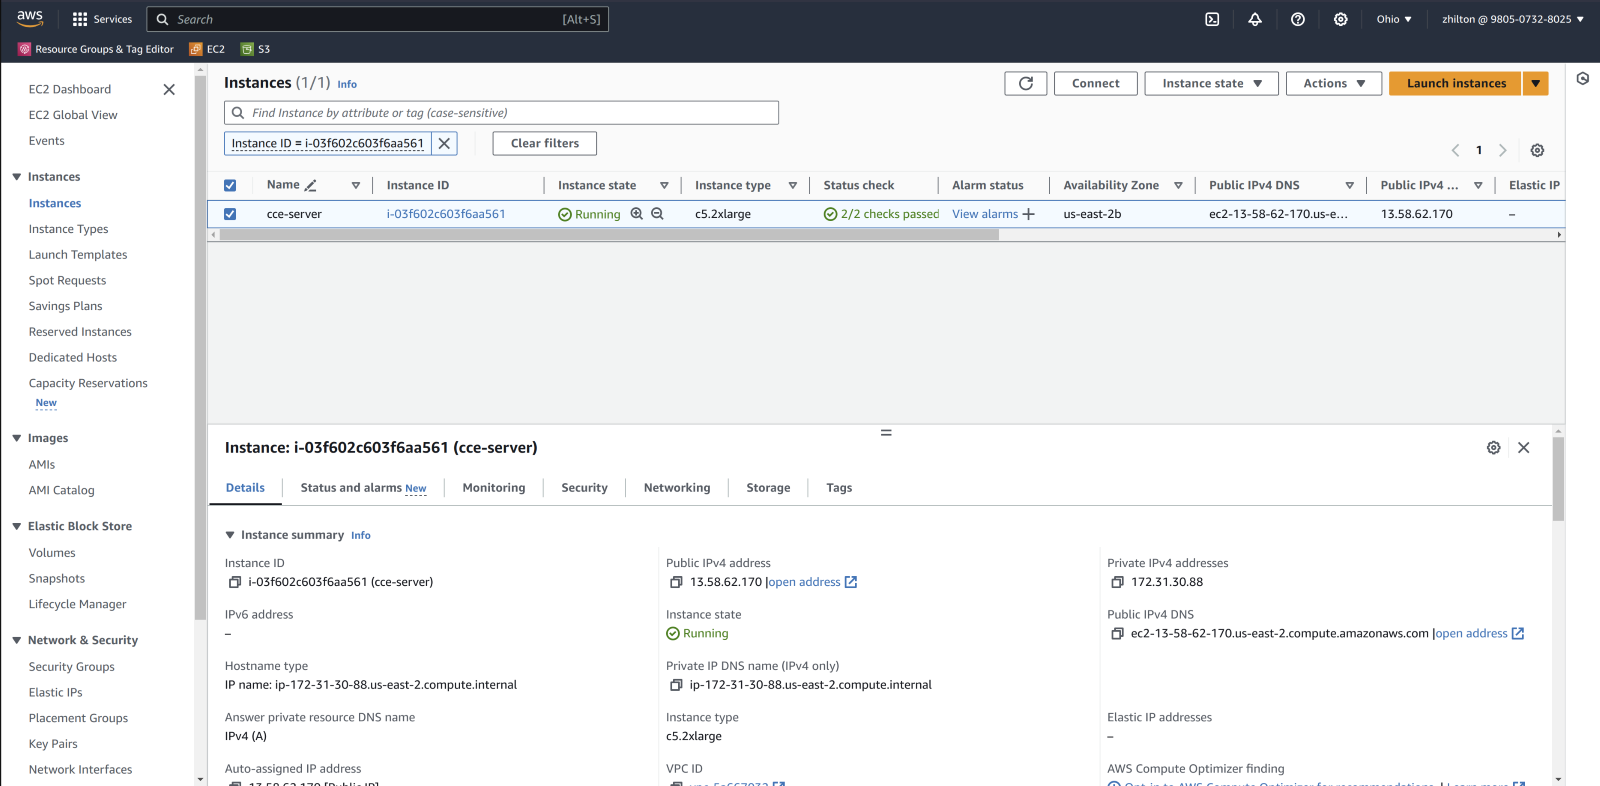
- Once complete, navigate to the instance by selecting the instance ID. In my case it is (i-03f602c603f6aa561).
- Select the checkbox to the left of the instance name and in the instance details, record the public IP for later use.

- Navigate to the search bar in the top of the screen and search for 'EC2' and select it.
- Configure AWS Elastic IP Address.
- In the left menu bar, under ‘Network and Security’, select ‘Elastic IPs’.
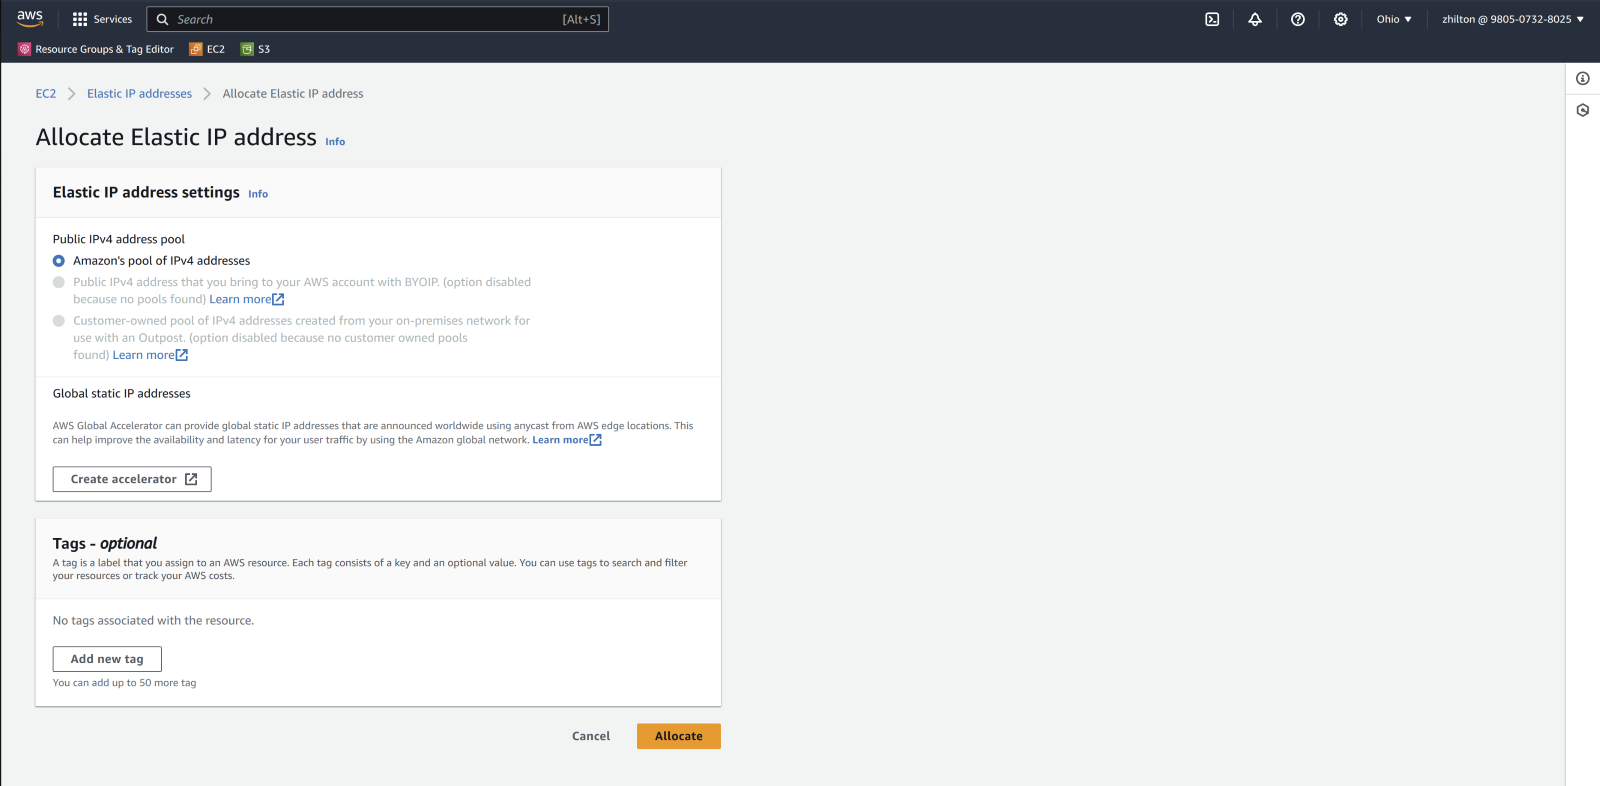
- In the top right, choose ‘Allocate Elastic IP address’. Keep the default configuration and then choose ‘Allocate’.

- Select the check box of the newly created Elastic IP, then in the top right use the drop-down ‘Actions’ box to choose ‘Associate Elastic IP address’.

- Under ‘Instance’, choose the CCE server EC2 instance.
- Under ‘Private IP address’, choose the private IP address of the instance.
- In the bottom right corner, select ‘Associate’.
- In the left menu bar, under ‘Network and Security’, select ‘Elastic IPs’.
- Contact ARIA to schedule a call to perform the rest of the software configuration.
Was this article helpful?
That’s Great!
Thank you for your feedback
Sorry! We couldn't be helpful
Thank you for your feedback
Feedback sent
We appreciate your effort and will try to fix the article